22 January 2013

-REVIEW- Anvil Industry Ltd

Hi all!


Today I want to show you some items for sale at ANVIL INDUSTRY LTD, an online store that I found by accident while looking for some parts for my conversion ...
As soon as I saw the first pictures, I fell in love immediately!


His website is very simple and "clean", and all objects are grouped by category.
Here you can find all kinds of components, shoulder pads, heads, arms, legs, weapons and dozens of accessories, from optics for rifles to cloacks ...
So i purchased a few items to taste the quality of the resin and to see the accuracy of the molds....

The package arrived in a few days and each component is sealed in small envelopes and all the pieces inside were counted perfectly


There's also a sheet with safety rules and procedures for the return if you are not satisfied with the quality of goods


.......When i opened the package i thought: WOOOOW!


The first thing you'll notice is the cleanliness and precision of molds, just clean them with a brush or a sharp blade and the piece is ready for assembly.


Do not even need washing with soap, because the mold is not greasy.
Some time ago I bought a few pieces on ebay and I noticed that has changed the mixture of resin, which now turns out to be even more accurate and robust.

The scale of the components matches perfectly with 28mm and is easily combined with all the elements in plastic or metal to create unique miniatures.


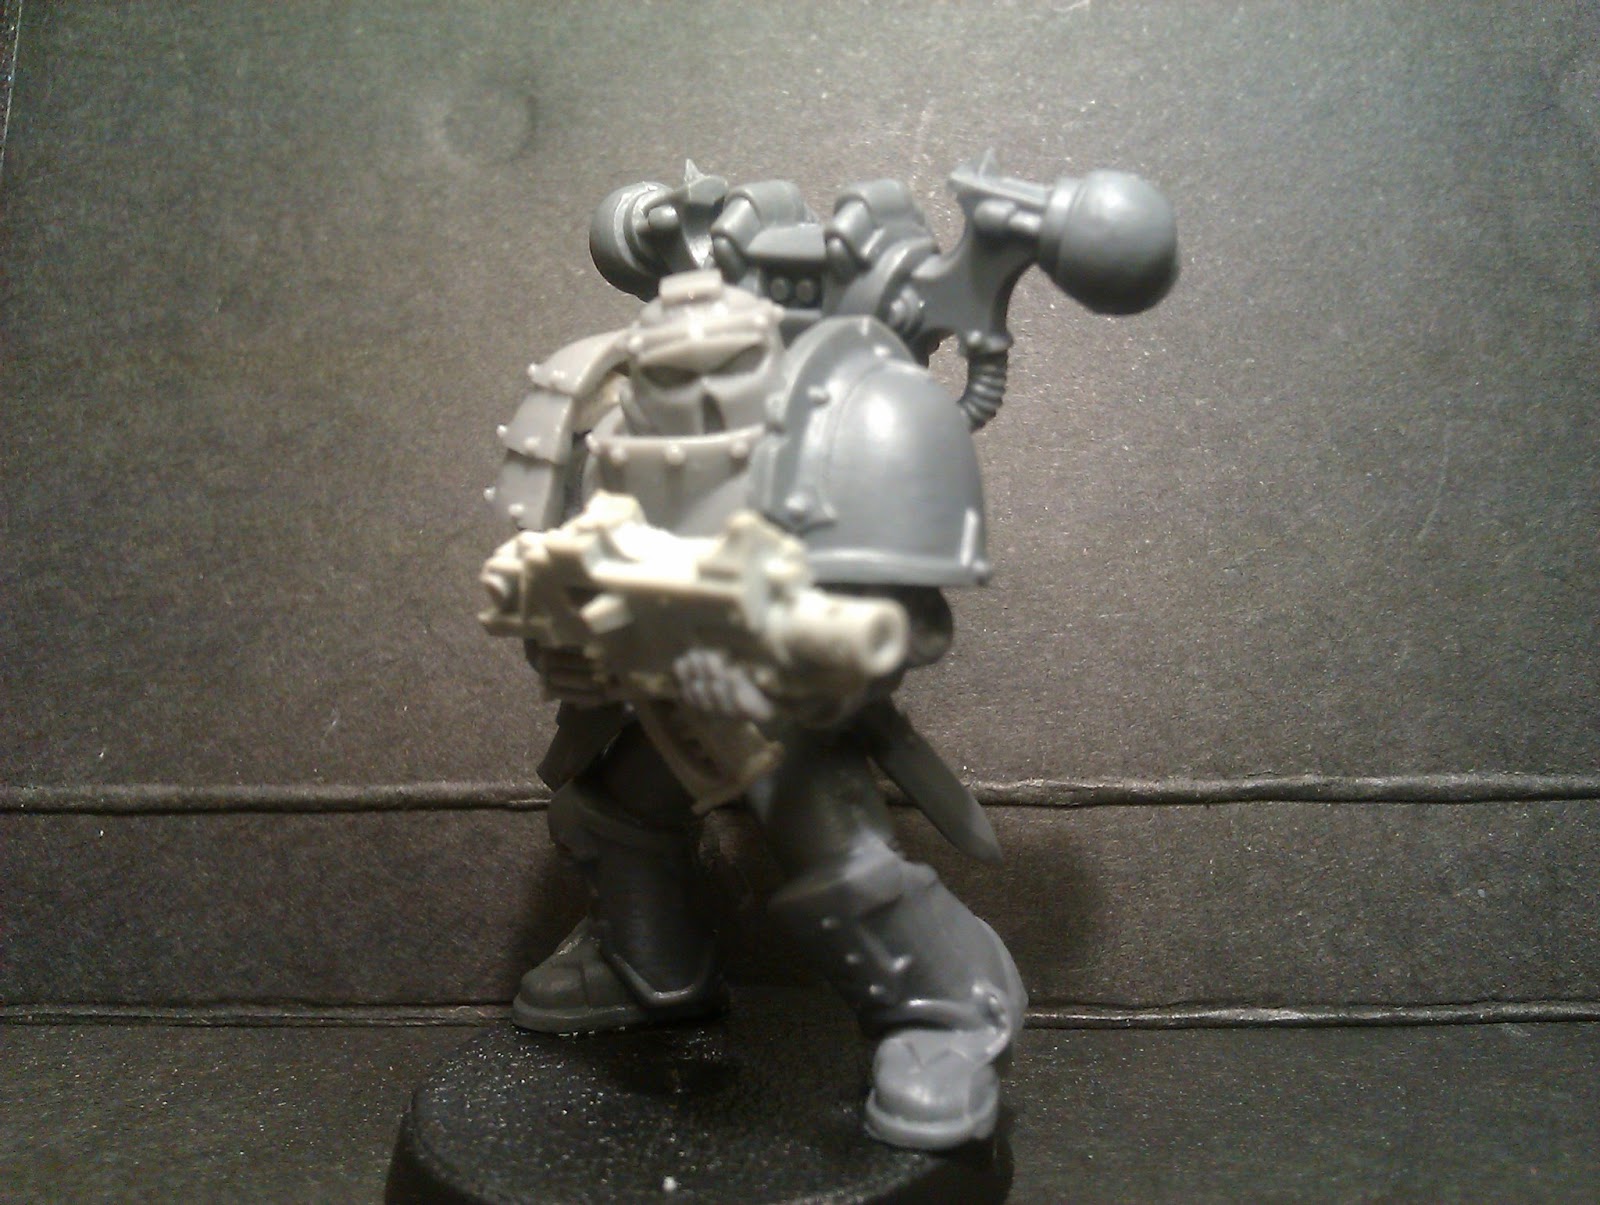
One of the things that fascinated me the most, was the modular kit for arms.


 With this kit you can reposition the arms in the pose you prefer and give the model a unique dynamicity


Accessories for weapons are fantastic, there is no limit to combinations...


Thanks to its components have created many fantastic looking miniatures!


In conclusion, i recommend anyone to visit his website ...
It 'an inexhaustible source of ideas!

PS: on his facebook page there are lot of images and news about new projects!


Thanks for reading, and thanks to Anvil Industry!!!


21 January 2013

-WIP- Iron Warriors Warlord on Juggernaut

Hi all!

It's time to build a warlord capable to mount my Juggernaut!

I started searching for some bits in my box and i've found some interesting components....


1     Classic Chaos Space Marines Shoulder Pad

2     Kromlech Chaos Resin Shoulderpad

      
3     Metal Cahaos Lord Backpack

4     Warhammer Fantasy Chaos Knight Axe

5     Classic Chaos Space Marines Boltgun

6     Kromlech Bedlam Fraternity Head


7     Anvil Industry Bionic Spartan Torso

      
8     Anvil Industry Bionic Arms 

       
9     Warhammer Fantasy Chaos Knight Legs


After selected all components i started to assembly my model adding some details with green stuff and guitar strings...


I fitted a Boltgun on his back...


 ...And i sculpted the saddle so that it could fit with the back of Juggernaut adding some plasticard rivets....


 ..........after the green stuff and glue have dried, I started painting with black primer, Vallejo Silver Metallic (Model Air) and Nuln Oil Wash over the whole model...


Then i started to paint some deatils....


I'll post high definition pictures of completed model soon!

Thanks for reading!!!!


20 January 2013

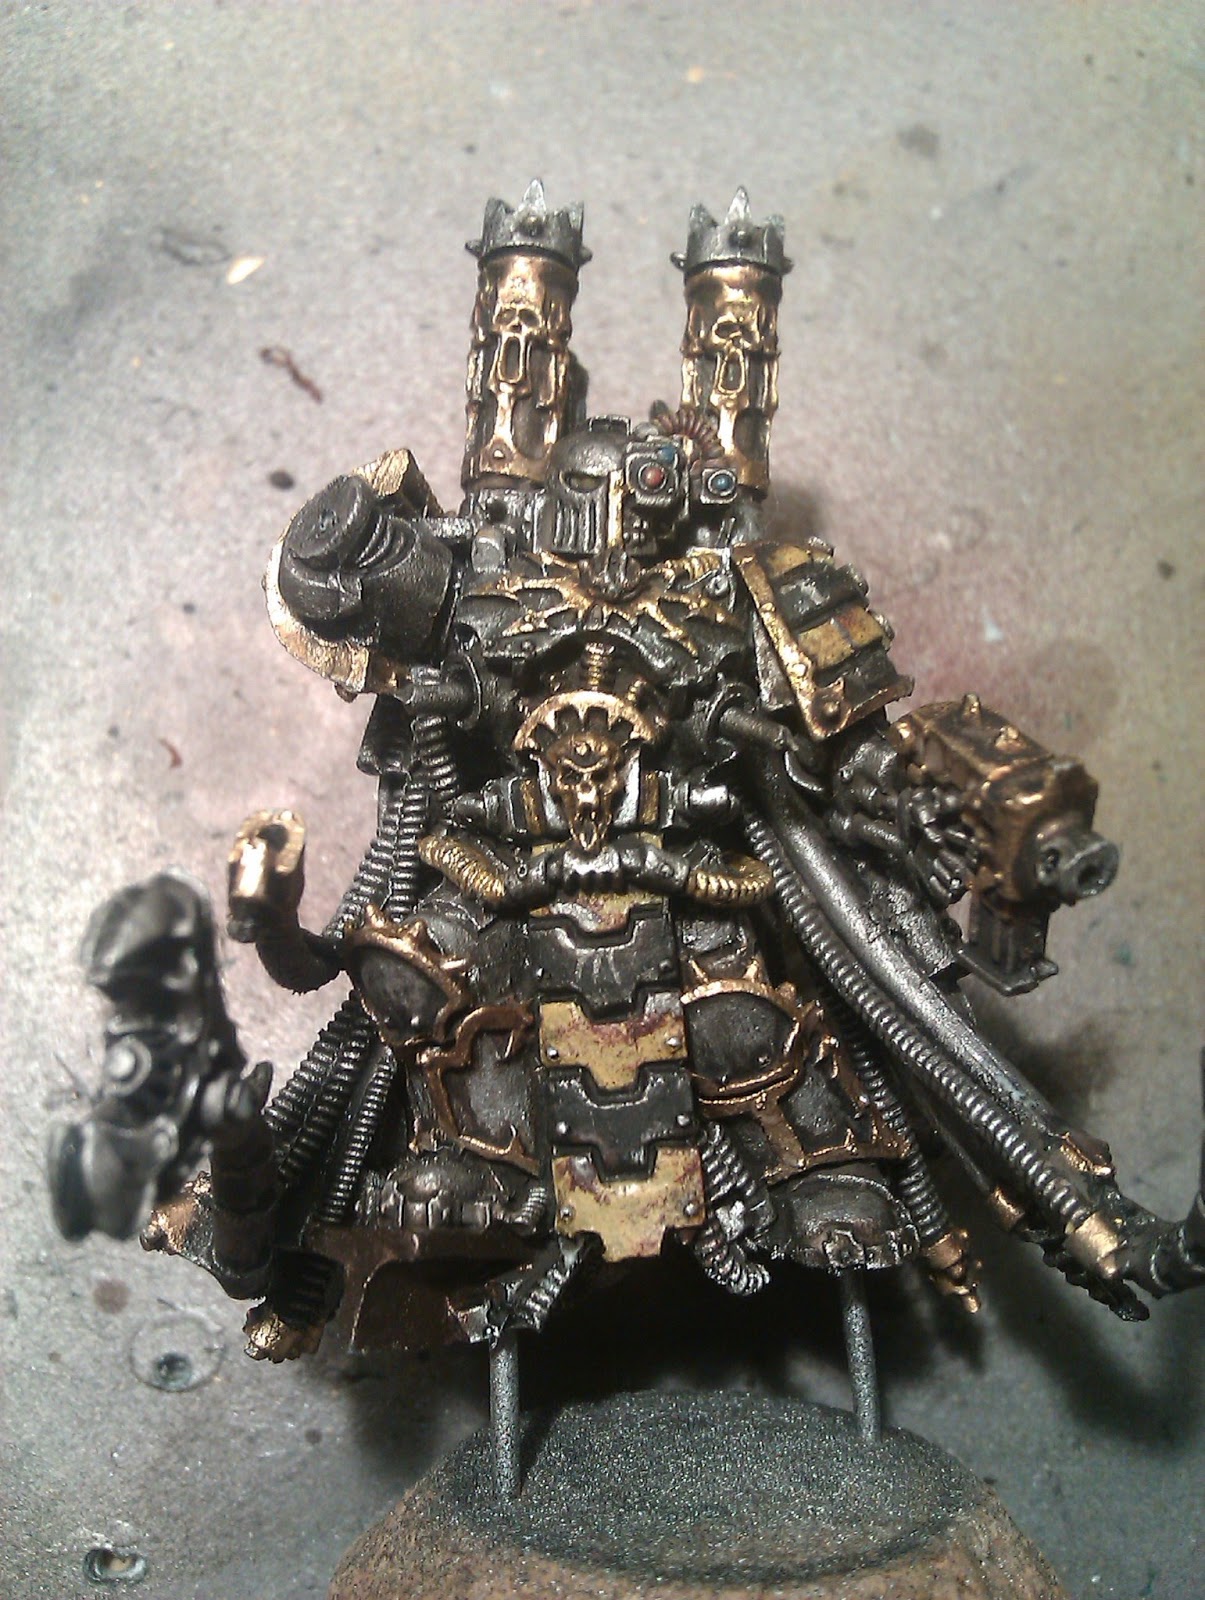
-SHOWCASE- Iron Warriors Warpsmith


Hi all
Finally i've completed my Iron Warriors Warpsmith!
Here some images...
Hope you like it!

See you soon!


07 January 2013

-WIP- Chaos Space Marines Warpsmith- pt2


Hi all!!!!

It's time for part two!!!

After washing the whole model with Nuln Oil...


...I've added "Iron Warriors" colours on his tabard, and some details with vallejo liquid gold...


I made some rusty effects with a sponge imbued with AK Interactive rust streaks.


Then i re-washed everything with oil paints. (50%black 50% brown, thinned with white spirit)


Meanwhile i've painted his base with scorched brown and some drybrushed bleached bone.
Boltgun metal on metal scraps...


I've highlighted with Vallejo Silver Metallic (Model Air)


And i've finally glued both arms...


So i've fixed the model to his base with metallic pins...


Part three coming soon!
...With high definition pictures of completed model!

Thanks for reading...


04 January 2013

-WIP- Chaos Space Marines Warpsmith- pt1

Hi all!

Today i've started to paint my Iron Warriors Warpsmith!

After unboxing i've noticed several "deformed components" that i've repaired with an Hairdryer (i know...i'm bald, so don't ask me where i've found an hairdryer! ahaa)

Then i've removed all mold lines with a sharp knife...
(Meanwhile i've made a little diorama on base, and i've left to dry...)
I've inserted also some pins to better fix arms and tentacles to body


After all preparations, i've applied a thin layer of Vallejo Black Primer with airbrush ...


Then i've airbrushed the entire model with Vallejo Silver Metallic (Model Air)


I'll show you more picture of work in progress soon!

Thanks for readings!


02 January 2013

-SHOWCASE- Iron Warriors Juggernaut

Hi all and Happy New Year!


As you may have noticed I was a couple of months away from WH40k to follow some modeling
projects on the historical World War II.

I wanted to focus about the historical modeling (1/35) to study the techniques used to
make the models as realistic as possible, and to learn how to create dioramas that I will
later use for warhammer 40k.

Meanwhile, i thought of my new army ... Chaos of course!

So, after several lessons with real teachers of modeling, and having studied the
techniques of washes and oil filters, I just did a test on the mount of my future IRON
WARRIORS general (devoted to Khorne! ahaha)

These are results...

Hope you will appreciate,
See you soon!!!


08 November 2012

How to make.... Crystals for bases

Hi all!!!
Today i want to show you a simple way that i use to make crystals on my bases...


Everyone has a lot of used sprues...
Don't throw them in the garbage, use them to enrich your miniatures!


At first i cut some strips, then i sharpened the edges with a blade...


I 've made a little hole and i've inserted a metal pin to make it fit better on cork.


Just push it with a little super glue and you're done!


Without much experience or precision, you can still achieve fantastic results!


Thanks for reading!
Related Posts Plugin for WordPress, Blogger...