14 May 2013

-HOW TO MAKE- Realistic Improved Comms


Hi all!

While working on my tanks i noticed that all comms and radios aren't so realistic.
So i decided to make this simple tutorial on how to make better antennas for your vehicles.

---WARNING!---

You have to use the fire then ask for help to an adult!!!


At first i searched for an empty sprue, then i cut a small piece leaving some plastic, so i can easily grab it.


Then you have to carefully melt it in the center ( Melt, not burn! )


While the plastic is molten you have to gently stretch the sprue in order to create a long plastic wire.


Do not worry if it looks like is breaking, if you do this correctly the wire will be very durable and flexible.

When it cools, cut to the desired length.


By adding some bits you can create a nice improved comms, like the real ones!


And remember to do this with the aid of an adult, because using a lighter to melt plastic is very dangerous! 

Thanks for reading!


13 May 2013

-WIP- MJOLLNIR pattern Basilisk pt.3

Hello!!!!


Finally i've started to paint the basilisk.

I've primed the whole model with vallejo black primer, then i've airbrushed with GW Dawnstone.


Then i made some stripes with Lifecolor Panzer Grey.

At this point is VERY important to protect the base color with transparent varnish

In order to apply decals properly, they must be sealed between two layer of transparent varnish.

In this way you'll protect the model, and the oil washes will flow better between the paneling and details


This is the scheme i follow:


The next step i washed the whole model with oil paints thinned with white spirit.
PS: oil washes takes about two hours before it completely dries


This is the result once dried...


Today i'll add some details and battle damages!!!

Thanks for reading!!!


10 May 2013

-WIP- MJOLLNIR pattern Basilisk pt.2

Hello!!!


This week i was very busy because of work, but no one can prevent me to do some conversions on my miniatures!!! ahaha!!!

As i said on my previous post, i wanted to realize a shield in front of crew compartment.

To do this i used some plasticard and i glued about 100 rivets one by one...

I filled the spaces between the panneling with green stuff and i gave a "soldering effect" with a carving tool...

This weekend i'll start to paint it!


...as usual... THANKS FOR READING!!!!

Pt3


06 May 2013

-WIP- MJOLLNIR pattern Basilisk pt.1

Hi all!


In many years dedicated to the hobby, the Imperial Guard is one of the armies that is giving me the most satisfaction from the modeling point of view.

As I said earlier i'm a big fan of military vehicles and nothing better than the imperial guard can give me the pleasure to paint such beautiful tanks.

But enough talk ... it's time to get to work!


Last weekend I bought 2 basilisk from a friend who does not use them anymore.
The models were in very poor condition, badly glued and painted worse ...


At first I disassembled all the components to facilitate the stripping and reassembly


Then I dipped the pieces in alcohol for 1 hour and I removed the old paint with a toothbrush.


Once dried i reassembled and i rebuilt a few details with metal wire


The barrel was assembled together with the cannon from leman russ eradicator sprue.
This will give a more aggressive aspect to the finished model


Some glue residue could not be removed, then have them filed down to make them less rough.


Then i added a dozer blade and 2 sections of track guards with plasticard...
I'm thinking of adding a front shield as like the Forgeworld Vanaheim pattern


This is the result so far, but there' still a lot of work...
Stay tuned for pt2 !!!

Thanks for reading!


22 April 2013

-SHOWCASE- Space Marines (Salamanders) Sergeant

Hi all!!!


As you may have guessed, i am a great lover of painting and modeling rather than the game (even if one day a week is dedicated to the game :) )

For this reason i often tend to jump from one project to another, and I find myself with a thousand half-painted armies

SO..... I'm back to my old salamanders, which I think is one of the most fascinating and mysterious chapters of all the Imperium.

This is one of my last finished works!


I really like to paint dirty and weathered armours, demonstrating the hard life on the battlefields of the 41st millennium

This is also a little taste of my land raider which is still a work in progress (but is almost complete)


See you soon!!!!


11 April 2013

-SHOWCASE- Skaven Lord Skrolk


Hello everyone!

Lately i've felt the need to paint something new because i'm a little 'bored to paint vehicles and power armours...

In my opinion, working on new models, improves painting techniques, because you discover new forms and new shades of color.

So i decided to paint a model i had in the house for many years, a Skaven!

The color scheme is not 'very different from the models of Nurgle i painted before, but, accustomed to paint power armours and vehicles, i must admit that the first approach to the flesh, wood and fabrics, it was not easy for me.

Armed with patience and confidence, i completed my first Skaven!

I was born and grew up in a port town ... I love rats! ahahaha

I hope you like it!


02 April 2013

-HOW TO MAKE- Realistic Towing Cables


Hi all!

Today I want show you how to build more realistic towing cables

...than the plastic ones!


The procedure is very simple and the result is excellent.
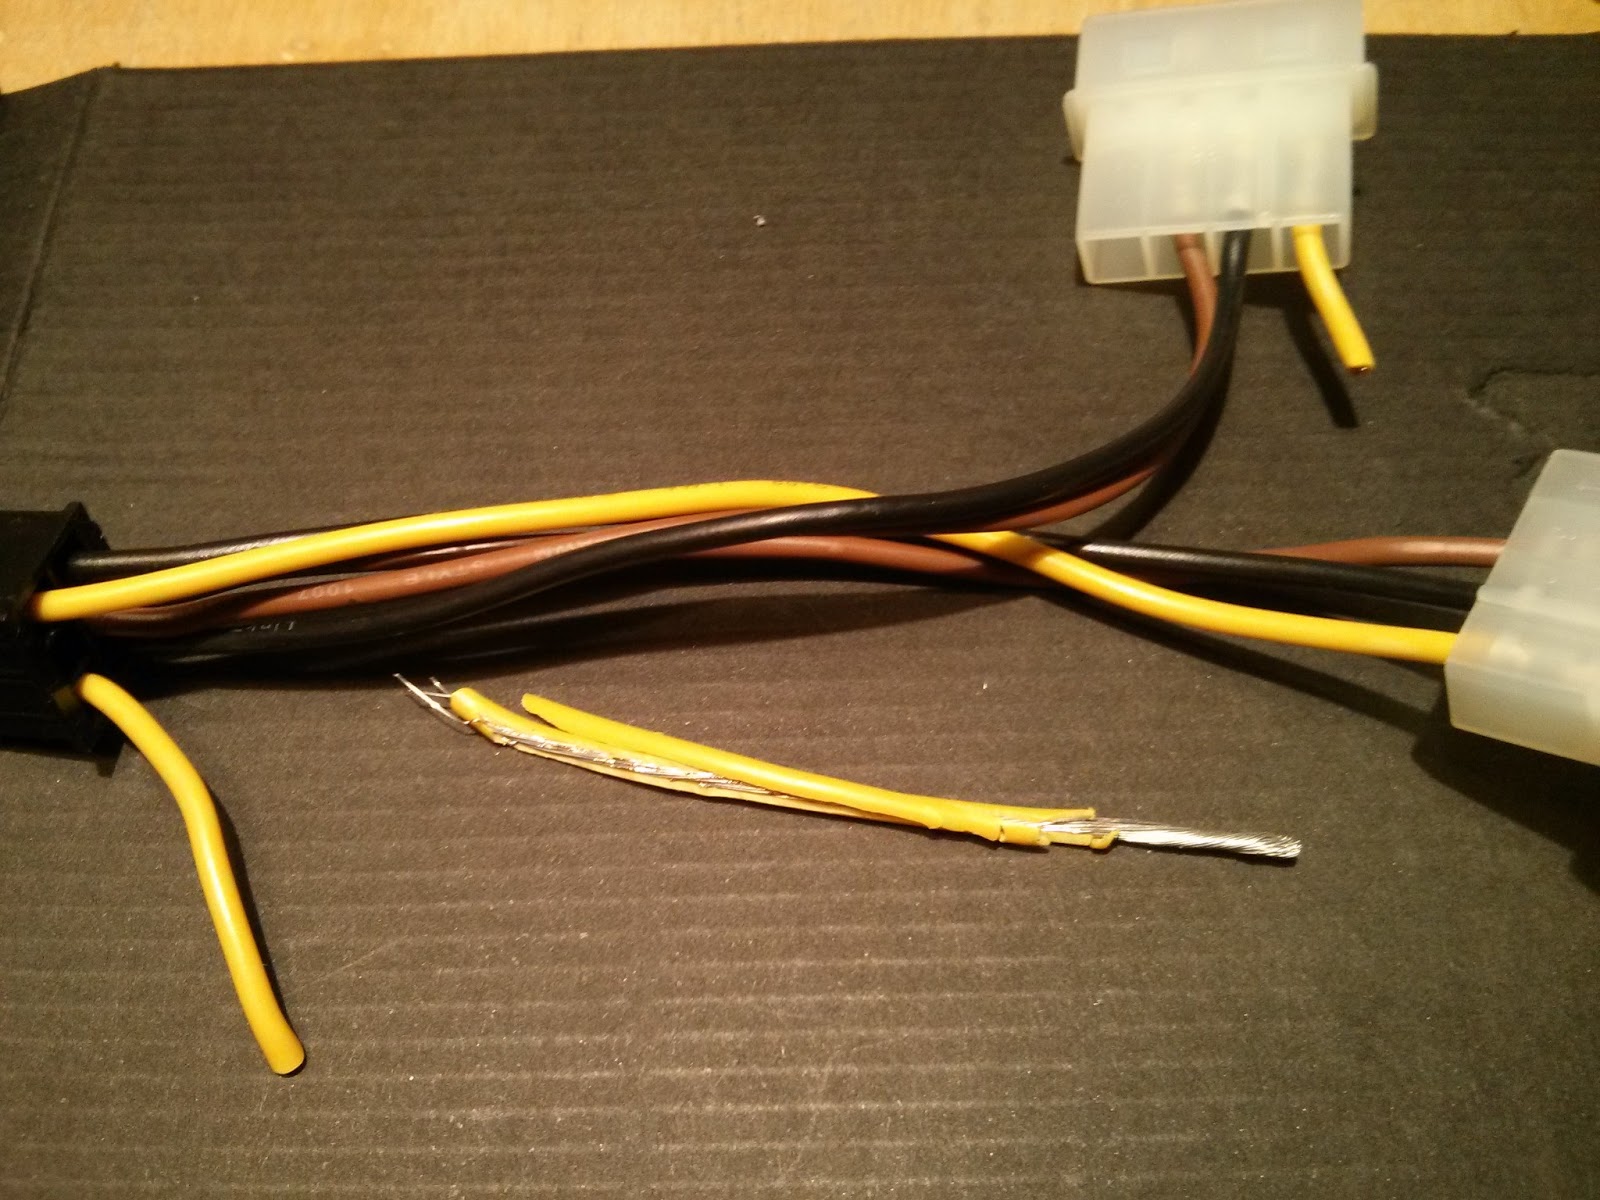
To do this, it will take a few minutes of work and a bit 'of electrical wire
(In this case I used an old connector for personal computers)


Separate the hooks from plastic cable and make two small holes to subsequently insert the power cord.


Strip the cable and wrap it around itself.


With a small drop of super glue insert the wire ends into the holes of the hooks.


add details as you like .... :)


With this simple procedure you can make your vehicle more like the real ones ...

I hope this has been helpful!

Thanks for reading!


Related Posts Plugin for WordPress, Blogger...