Showing posts with label Weathering. Show all posts

21 April 2017

-STEP BY STEP- Astra Militarum Command Chimera Pt.2


HI ALL!

In the previous post (Astra Militarum Command Chimera Pt.1) i've shown how i converted the tank...

Now i  want to show you a brief step-by-step on how i've painted it ๐Ÿ˜


Obviously, i primed with Citadel Chaos Black.
I prefer priming my nimiatures with black primer because it helps with shadows...


Then i've painted base colors, with a oblique camo pattern, and i've painted all details using masking tape where needed...


At this point is very important to protect the whole model with transparent glossy because it helps with decals and weathering (as described in this post)...

After deployed all decals, the chimera is ready for weathering...
PS: Remember to seal the whole model again before weathering! ๐Ÿ˜‰


Now we're ready to whash the model with oil paints...
I prefer oil paints over standard washes because you have more "control" and they fill the recesses much better and because they dry very slowly, you can add or remove color easily...


 (I'll explain how to use oil paints on future post ๐Ÿ˜‰)


Now the step i love.... WEATHERING!!!!

In the GRIM DARK FUTURE of 40K there are destroyed cities, radiations, acid rains etc etc... so i love to represent the erosion of those environments over the vehicles...

Before start with weatering i searched for images of radiations erosion...


So i took from the drawer my "magic rust kit" ๐Ÿ˜‚...


...and i started with heavy rust and with sponge weathering tecnique...


After the weathering process was finished, i sealed the whole model with Vallejo Matt Varnish, i've painted the tank commander and that's the final result! ๐Ÿ˜


I hope you enjoyed this brief tutorial and don't hesitate to ask me info on "how to do"

See you soon!!!!!! ๐Ÿ˜‰


05 February 2014

-SHOWCASE- Hordes Trollbloods Captain Gunnbjorn

Hi all and welcome back!
In these days i have a lot of work to do and i don't have much time to update the blog, but in the evening i keep on paint like a madman :)

As i explained in my previous post,i felt in love about this new game (new to me) so i started to paint the Hordes Trollbloods.

The Privateer Press models are rich in detail, many of which are visible only after you have primed the miniature, and the game system is fantastic :)

This is my first Trollblood, the Captain Gunnbjorn
I hope you like it :)


Thanks for reading!!!!

04 December 2013

-HOW TO MAKE- Snow Bases

Hi all!

Was for a long time that i wanted to paint some miniatures different than those of the GW range, so I've recently bought some Privateer Press miniatures, just to "taste" a different manufacturer and different materials.

I went to my friend's game store and i started to wander among various blisters and boxes, and i fell in love for Hordes Miniatures, but i'll show you how i've painted these models later, because today i want to show you how i make snowy bases...

So, get ready to work!!!

At first look you can see that All Privateer Press bases have the external edge raised, that it makes possible to customize the terrain much better rather than other bases.

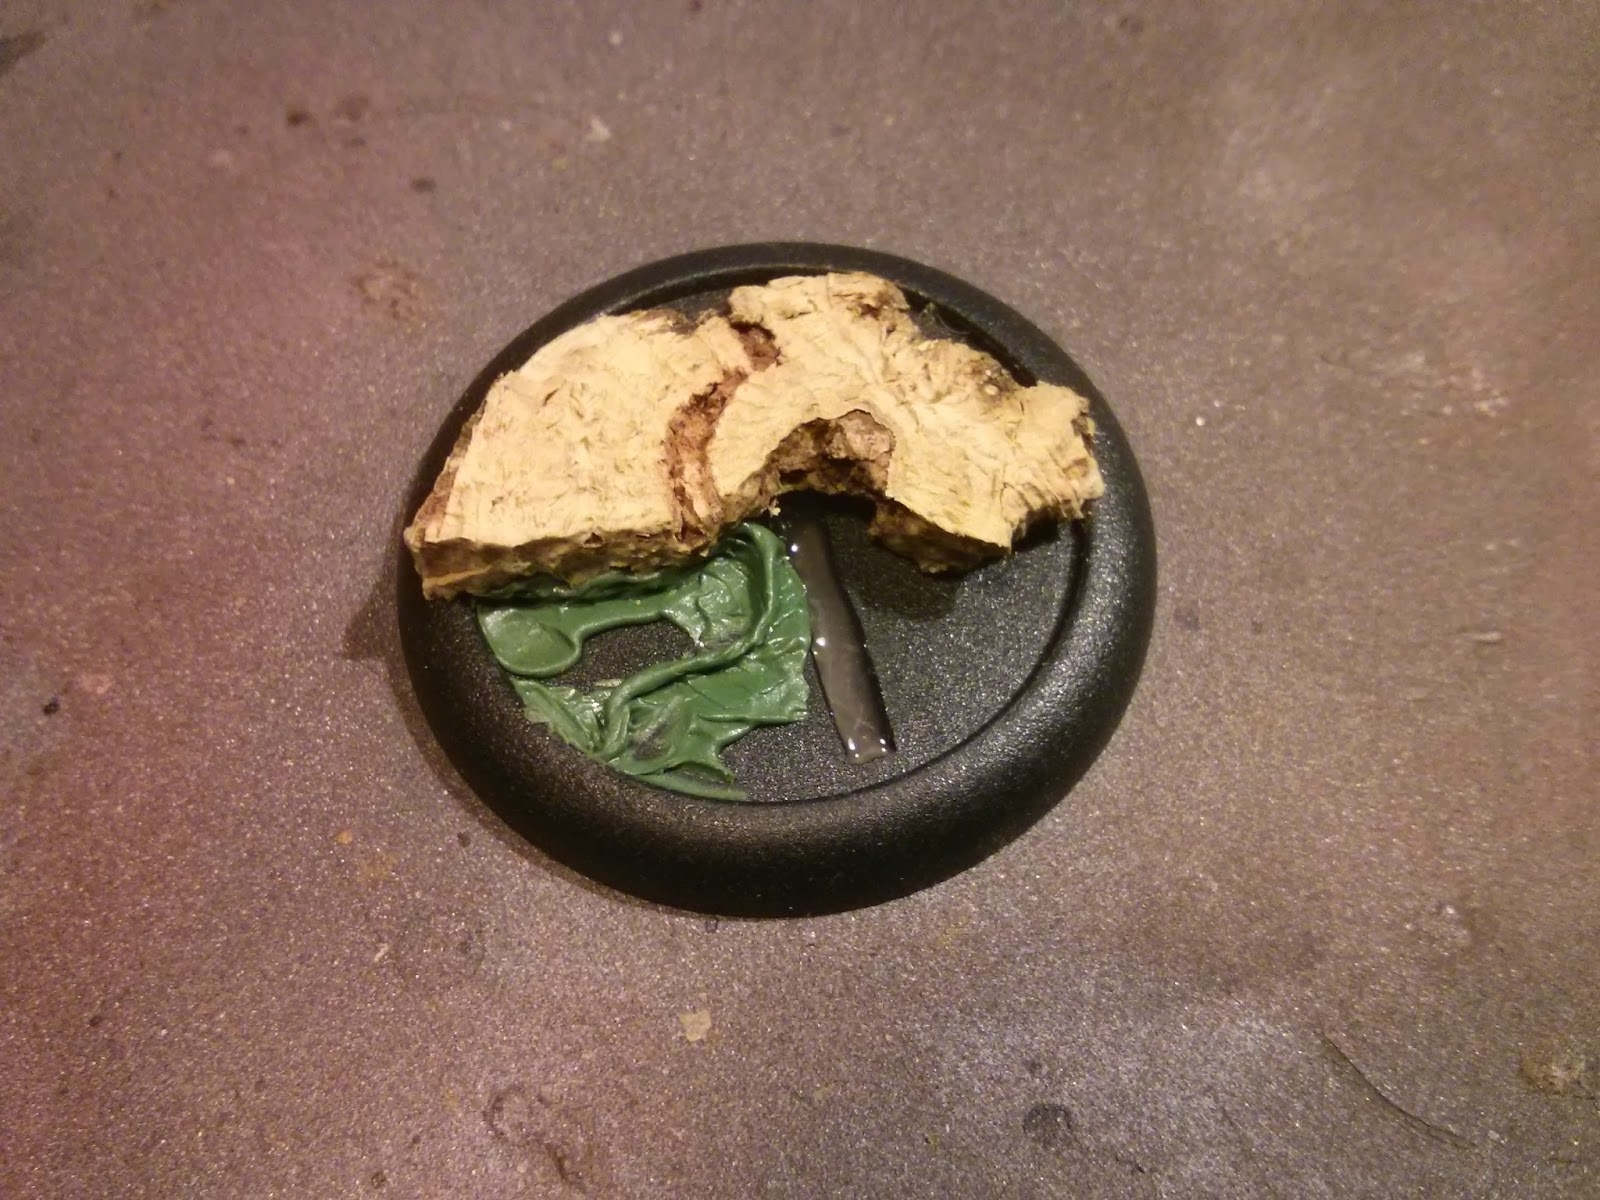
I glued a piece of cork with hot glue (but you can also use PVA glue), and i made a little edging with green stuff where the water effect will be poured, then i covered the rest with sand.


I primed all bases with black primer, in order to give a first shade


I started with a first brown layer, then i've highlighted with a brighter brown.


I painted the stone with panzer grey and i made ah heavy drybrush with Khaki White...


I used paints from Lifecolor Mimetic Paints Range because i love the matt surface they leave when dried, but you can use any acrilic paint.

Then i weathered all bases with Dark Earth pigment, in order to give to all bases a dusty effect.
I thinned the pigment with lot of water and some drops of Matt warnish that will serve as pigment fixer...


That's the result...


After painting the edges with black paint, the bases are almost ready to be glued to miniatures...


I added some grass tuft...


Now it's time to make it snow! :)

I made a mix of PVA glue and Games Workshop snow effect up to create a kind of paste that will subsequently be brushed all over the base.


In this example i wanted to make a melted spring snow...


If you prefer, you can add more snow to represent a heavy winter snowfall like this.


After gluing the miniature to the base, i added a few drops of water effect to represent the frozen puddles created by melted snow...


That's the result!


There are lot of types of snow, for example you can make ice by adding more water to mixture, or make a fresh snow by adding more snow sprinkles on a layer of PVA glue


I hope this simple tutorial has been helpful!

Thanks for reading!!!!


Related Posts Plugin for WordPress, Blogger...